


Quick Summary
- Gather all necessary components before starting.
- Follow a step-by-step process for assembly.
- Ensure proper cooling for optimal performance.
- Test your build thoroughly before gaming.
- Stay within budget while maximizing performance.
Building a gaming PC is an exciting project that many gamers tackle each year. In 2026, how to build a gaming PC remains a hot topic among enthusiasts eager to create a custom rig tailored to their gaming preferences. With a well-structured approach, anyone can assemble a powerful system that meets their needs.
This guide outlines the essential steps to build your gaming PC, from selecting components to ensuring everything runs smoothly. Let’s dive into the process and get your gaming setup ready.
How to Build a Gaming PC: The Essential Components
Before you start assembling your gaming PC, it’s crucial to know the key components you'll need. These include a CPU, GPU, motherboard, RAM, storage, power supply unit (PSU), and a case. Each part plays a vital role in your system's performance.
For instance, the CPU and GPU are the heart of your gaming experience. The CPU handles processing tasks, while the GPU takes care of rendering graphics. Popular choices for CPUs in 2026 include the AMD Ryzen 7000 series and Intel’s 13th Gen Core processors. For GPUs, NVIDIA's GeForce RTX 40 series and AMD's Radeon RX 7000 series are top contenders.
Once you've selected your components, ensure compatibility. Websites like PCPartPicker can help you verify that all parts work together. For more detailed guidance on specific components, check out our article on budgeting for a gaming PC.
Step 1: Gather Your Tools and Components
Before you begin building, gather your tools and components. You’ll need a Phillips screwdriver, anti-static wrist strap, and ideally, a clean workspace. Make sure you have all your parts on hand: the CPU, GPU, RAM, motherboard, PSU, storage drives, and case.
Organizing your components can save time and reduce frustration. Lay everything out systematically and refer to your motherboard manual for specific instructions related to your build.
Step 2: Install the CPU and RAM
Start by carefully installing the CPU onto the motherboard. Align the CPU with the socket, ensuring the notches match. Once in place, secure it according to the motherboard instructions.
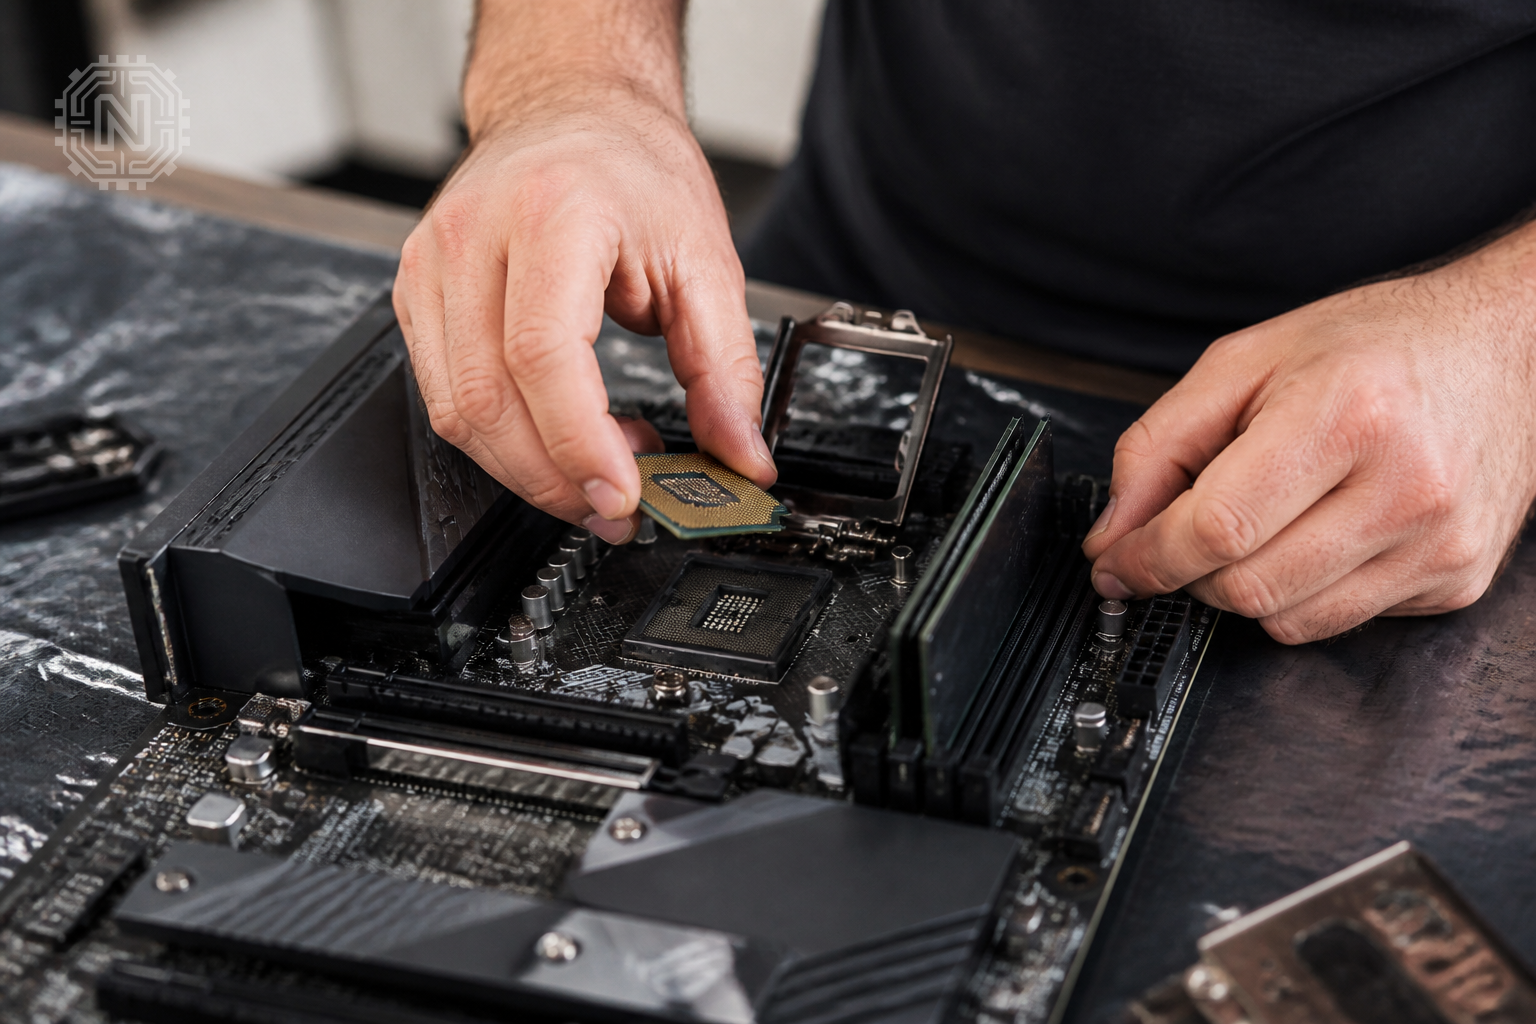
Next, install the RAM. Most motherboards have color-coded slots to help you install the RAM correctly. Make sure to push down firmly until you hear a click, indicating that it’s properly seated.
Step 3: Mount the Motherboard in the Case
With the CPU and RAM in place, it’s time to mount the motherboard in your case. Align the motherboard with the standoffs in the case and secure it with screws. Refer to the case manual for specific mounting instructions.
Be cautious of static electricity during this process; grounding yourself with an anti-static wrist strap can help prevent damage to sensitive components.
Step 4: Install the Power Supply Unit (PSU)
The PSU is essential for powering all your components. Install it in the designated area of your case, usually at the bottom or top, depending on the case design. Make sure the fan is oriented correctly to promote airflow.
Connect the PSU cables to the motherboard and other components. It's important to ensure that you have enough wattage for your system, particularly if you're using high-performance GPUs.
Step 5: Install the GPU and Storage Drives
Next, install the GPU. Insert it into the appropriate PCIe slot on the motherboard and secure it with screws. Make sure to connect any necessary power cables from the PSU to the GPU.
For storage, you can choose between SSDs and HDDs. SSDs are faster and more efficient, while HDDs offer larger storage capacities at a lower price. Install them according to your case's layout, and don't forget to connect them to the motherboard and PSU.
Step 6: Cable Management and Cooling Solutions
After all components are installed, focus on cable management. Tidy up the cables to improve airflow and aesthetics. Use zip ties or Velcro straps to keep everything organized.
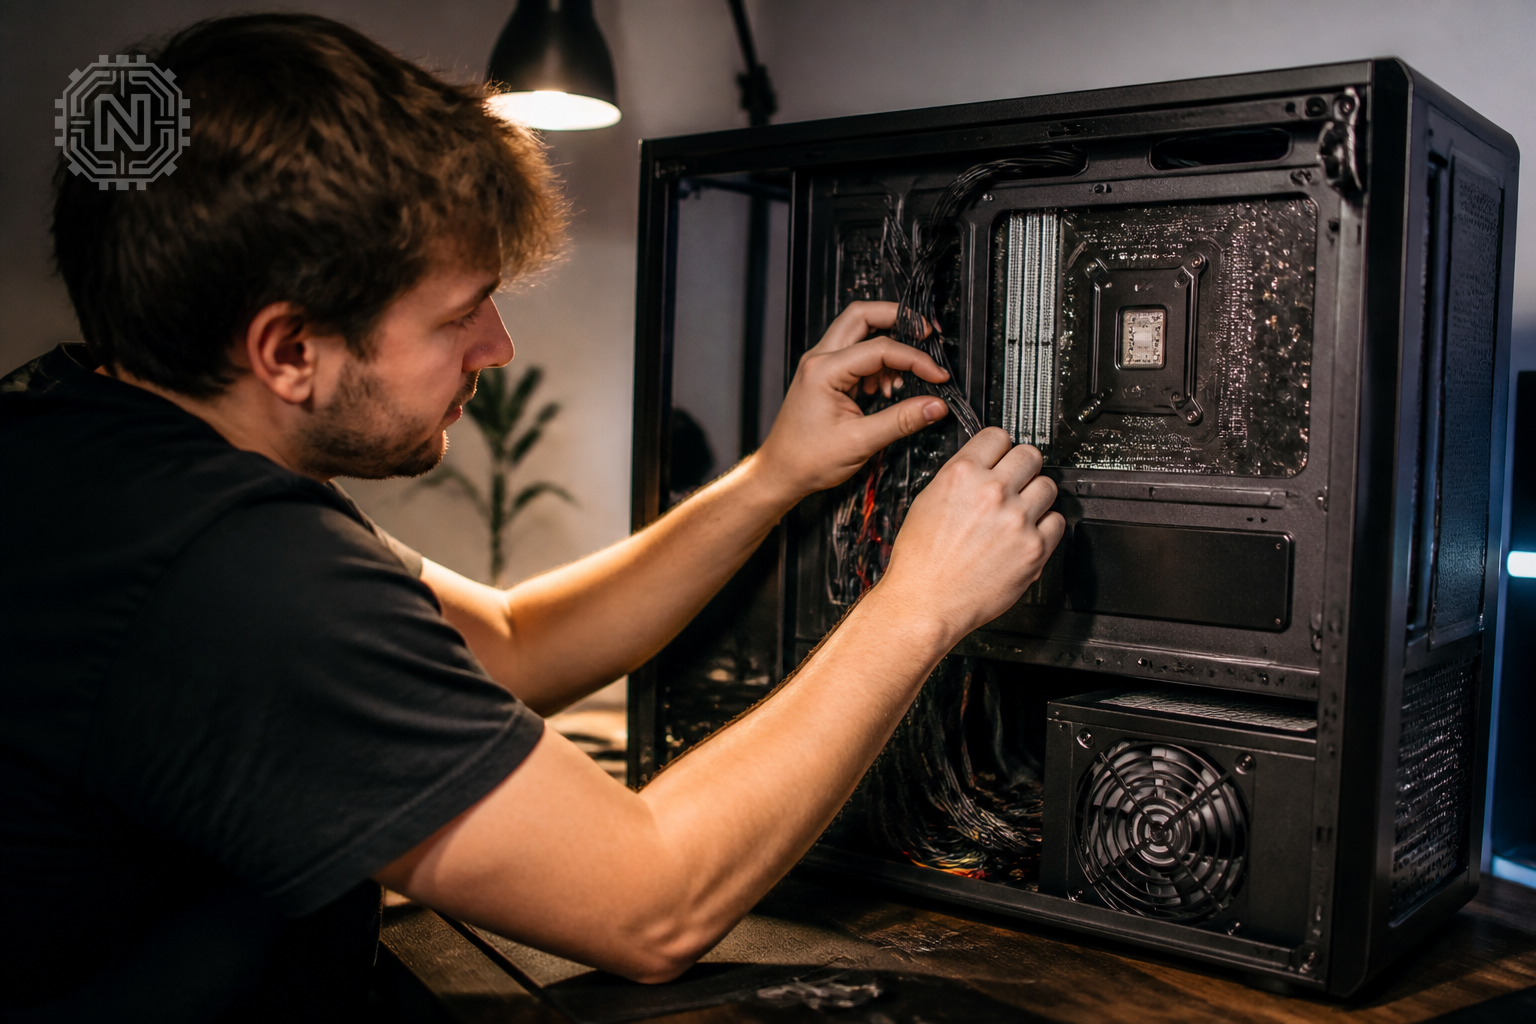
Cooling is critical for maintaining performance. Ensure that your case has adequate airflow, and consider adding additional fans if necessary. Liquid cooling solutions can also be an effective option for high-performance builds.
Step 7: Power On and Install the Operating System
With everything assembled, it's time to power on your gaming PC. Double-check all connections before plugging in the power cable and turning on the system. If all goes well, you should see the BIOS screen.
Next, install your operating system. Most gamers opt for Windows 10 or 11, which offers the best compatibility for games. Follow the installation prompts, and don’t forget to install drivers for your components afterward.
Step 8: Test Your Build and Optimize Settings
After installation, it's essential to test your build. Run stress tests and benchmarks to ensure everything operates smoothly. Tools like 3DMark and Cinebench can help gauge performance.
Finally, optimize your settings for the best gaming experience. Adjust graphics settings in your games to find the perfect balance between performance and visual quality. For tips on optimizing your gaming setup, check out our guide on improving sleep quality for gamers.
Editorial Sources
Conclusion
Building a gaming PC can be a rewarding experience that enhances your gaming capabilities. Following these eight steps will ensure a successful assembly and a powerful rig tailored to your needs.
Frequently Asked Questions
What components do I need to build a gaming PC?
You'll need a CPU, GPU, motherboard, RAM, storage (SSD/HDD), power supply, case, and cooling system.
How much does it cost to build a gaming PC in 2026?
Building a gaming PC in 2026 typically costs between $800 and $2000, depending on the components chosen.
Is it difficult to build a gaming PC?
Building a gaming PC isn't difficult, especially with online guides; most users can complete it in a few hours.
What tools are required to build a gaming PC?
You'll need a screwdriver, anti-static wrist strap, and cable ties for organizing cables.
How do I choose the right CPU for gaming?
Select a CPU that balances performance and price, focusing on core count and clock speed for gaming efficiency.
Can I use old parts in my new gaming PC build?
Yes, you can reuse old parts like storage drives or power supplies, but ensure compatibility with new components.
How do I ensure proper cooling in my gaming PC?
Use a quality CPU cooler, ensure good airflow in the case, and consider additional fans if necessary.
What is the best time to build a gaming PC?
The best time to build a gaming PC is during sales events, like Black Friday or back-to-school sales, for potential savings. For more on How-To, explore Newtechzy. You can also review our Privacy Policy and Cookie Policy, or learn more About us.
Related Topics
Ready to build your gaming PC? Explore more guides and tips on our site or contact us for personalized advice!
Start Your Journey Today!


